Saturday, January 28, 2012

Embossing Adventures


Hello! I'm here with some embossing fun, inspired by this weeks challenge at Cheery Lynn Designs! I’ve created a simple, yet elegant card just by adding layers of dies. I started by cutting my base card using the Square Scallop Nesting Die, layering it with the Classic Silver Stacker Square. I just love that the Silver stackers are the perfect fit for the Nesting dies, taking out all the guessing work!


To create the lacy border, I cut two pieces from Francesca and placed the flat edges together. After adding a piece of satin ribbon, I topped it with the Flower Chain Border which I trimmed to fit. For a bit of interest, I added texture to my Classic Circle Silver Stacker layer using the Petite Hearts XL Embossing Plate before adhering to the Scalloped Circle Nesting diecut. Yes! It is okay to emboss your pattern papers too, just make sure your patterns compliment each other!


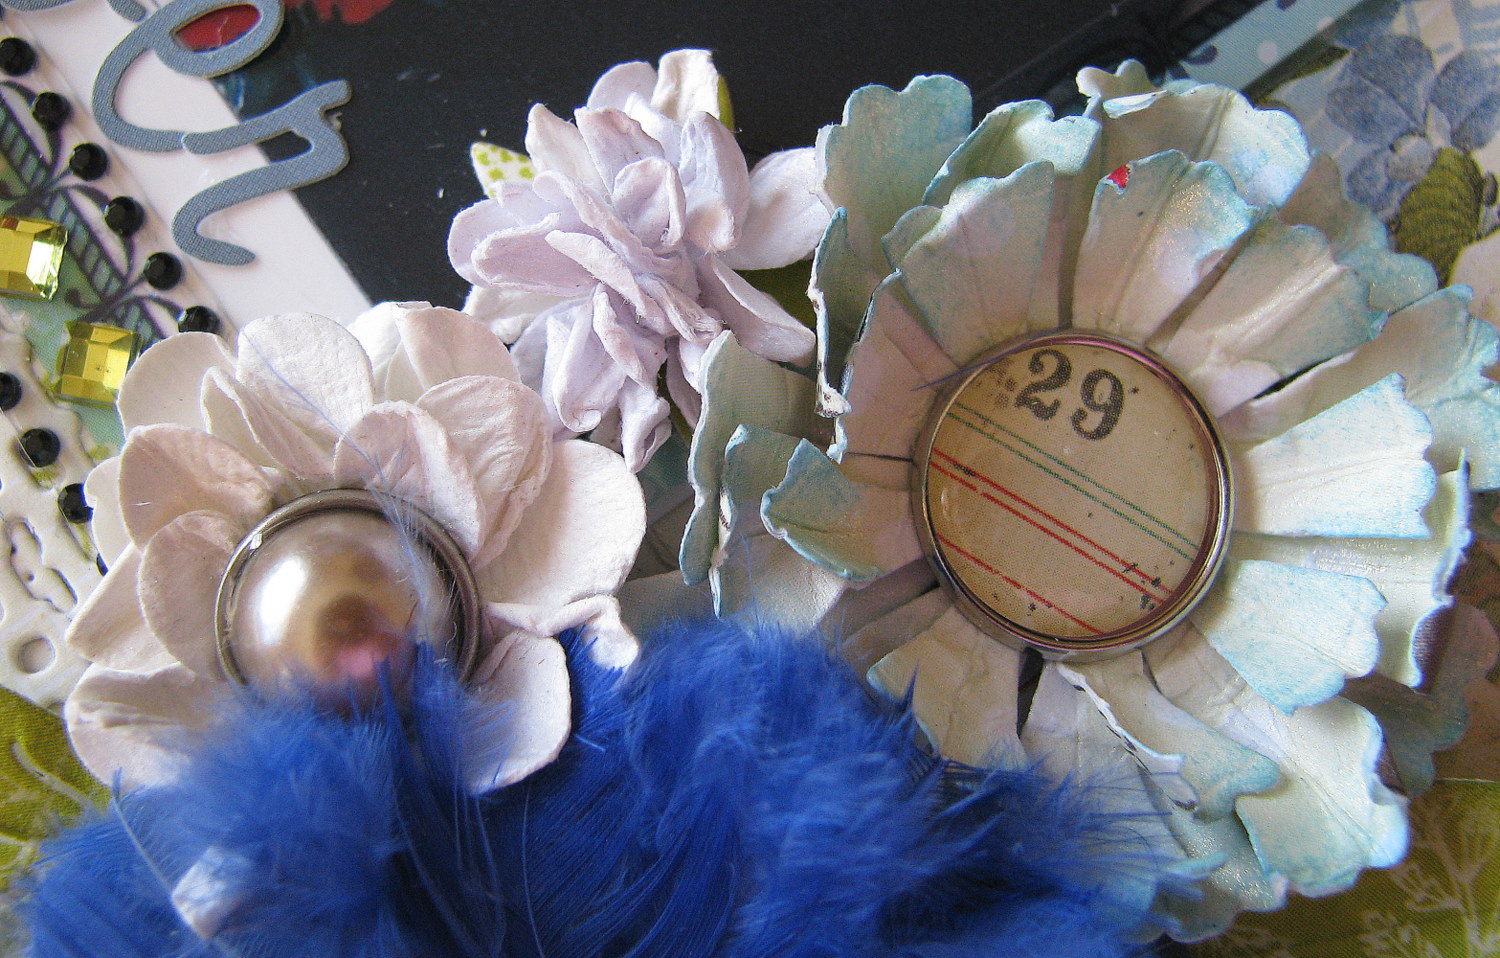
 I embellished my card using the smaller heart from Two of Hearts, topped with a Large Rose. I lightly brushed the edges of the petals with Shimmerz Paints before assembling the flower. I tucked leaves from Stacker Flower #1, along with Olive Branches in around the flower. Remember I said I had trimmed the Flower Chain Border to fit? I saved the remaining pieces and trimmed the excess chain from the leftover flowers, adding the flowers to the bouquet!

Thank you to all the ladies that have been participating in our challenges! I really enjoy visiting your blogs, and seeing your lovely work! If you haven’t joined in yet there is still time to enter this weeks challenge! Details here.

Thanks for stopping by!!!


Saturday, January 21, 2012

Winter Wonderland

Hello!  I'm here with a winter layout for Cheery Lynn Designs.


Using the January sketch from  My Creative Sketches, I began my design by placing the Mega Tea Party Doily on the center of my background. I started layering pattern papers, some cut work, and the Large Sunflower Doily…those dainty details really add a lot!


I added the new Francesca border to the bottom of the photo. The details of this border are so exquisite and definitely a new favorite! ( AND it's also on sale!)  After attaching all the layers, I strategically tucked in some Pine Branches. I finished off the layout by adding a couple Snowflakes #2. For a little fun texture and dimension, I added a Miniature Rose to the center of the upper snowflake, and Cuties #2 to the lower snowflake.

There is still time to enter this weeks challenge at Cheery Lynn Designs for your chance to win the $20 gift certificate! Get the details here.

Details and sketch for My Creative Sketches can be found here.

Thanks for stopping by!!

Sunday, January 15, 2012

New Release!


Cheery Lynn Designs is revealing another set of dies today! More gorgeous doilies, borders, frames, flower, wings and more!


For my first project, I created a canvas ….my first attempt at a canvas! I’ve seen so many gorgeous canvas creations but have been a bit intimidated to try one of my one. I decided it was time to step outside my comfort zone and give it a try! I started by spritzing the background with my Tattered Angel Glimmer Mists. I layered a few doily dies in amongst some Glitz Design Whatnots and Peek-A-Boo‘s. Notice the new English Tea Party Angel Wings and Polynesian Sales Doily Angel Wing ? They really enhance the details in the doilies! (English Tea Party Doily, Polynesian Sales Oval Doily) Check out the doily under the “e!” That is the newly released Sophia’s Heart Doily. Isn’t it exquisite?! To the right, I added a piece of Victorian Picket Fence border.


After covering my letters with pattern paper, I added some Distress Crackle Paints contributing to the vintage feel of the piece. I used the larger die from Two of Hearts in place of the “o”. The pleated flower atop was created using the Newly released Wedding Garter border. I pleated it every quarter inch, attached the ends, and finished off with a Dangle from Pink Paislee.


Next, I added flowers created with the Miniature Rose, Large Rose, and the newly released Cuties #4. To create the Cuties #4, I cut my dies from several layers of pages from an old book. Since the papers is lighter, the flowers turned out so fluffy! The leaves around the flowers were cut from Olive Branches, Small Leaves #2, and Large Leaves #2. Finishing off the piece, I adhered a butterfly from Exotic Butterfly small #2. Then the final touch…attaching the newly released Francesca Border around the edge. I really had fun with this project and won’t be so intimidated to try another!

My second project is a 5x7 card. The beautiful background was created using the XL Diamonds & Starburst Embossing Plate. I layered the newly released Wedding Garter border on top of the newly released Francesca border. The lovely pink frame was cut from the newly released Enchanted Forest Stacker Frame set. To created the flower, I cut several layers of tissue paper using the newly released Cutie #4. Leaves were cut from the Small Leaves #2 set.

Head over to the Cheery Designs Blog to check out the other newly released dies, and the lovely examples from my fellow design team members!

Thanks for stopping by!!

Saturday, January 14, 2012

Oh so Lacy!

Hello! With Valentines around the corner, I thought I would work on a romantic layout. Todays layout features borders and flowers from Cheery Lynn Designs.


I started by dressing up the layout with piecing the Anastasia Border around the background paper. I layered the Lace Light Deco Border atop the Tiffany Border. I like to slightly roll the bottom of the borders to give a bit of texture, and make them look more like real lace. After adding some fussy cutting, I tucked the English Tea Party Doily in a couple places. 


I cut the Sweet Williams flower from denim scraps.


After cutting the petals of the Large Rose, Miniatuare Rose, Frangipani with Leaves, and Stacker flower #5, I spritzed each set of petal with Glimmer Mist then scrunched each petal between my fingers and set them aside to dry. Once dry, I assembled the flowers. Distressing the petals gives the flowers a completely different look.


Before assembling the Stacker Flower #5, I staggered the flower and shortened some of the petals but cutting the die piece with the Scalloped Window Stackers.


I also added Cuties #1 to the bouquet. Once all flower were dispersed, I tucked in pieces of the Fanciful Flourish, Olive Branches, along with leaves from Stacker Flowers #1 and Dimensional Small Leaves #2. To complete the romantic feel of the layout, I added the Small Lace Butterfly…isn’t this die so delicate and beautiful?!
There is still time to enter this weeks challenge for your chance to with a $20 gift certificate. Get the details here!

Come back tomorrow to peek at all of the January released dies!!

Saturday, January 7, 2012

Chasing away the Winter Blues!

Hello!!  This weeks challenge at Cheery Lynn Designs- Winter Blues - was my inspiration for today’s creation. 


I used a old jar from a candle, but you could easily create something similar using an old wine bottle, vase, or search you local thrift store for other ideas….the hunt is half the fun! Wouldn’t this make an elegant vase for that much needed bouquet to bring you out of those winter blues, or even a lovely candle holder for those cold winter nights!


Using adhesive backed craft vinyl, I used Snowflake #2 to cut several snowflakes. Since the snowflakes were small enough and easy to handle, I did not use transfer tape this time. I removed the backing of the vinyl and adhered the snowflakes randomly around the jar. Make sure all parts of the snowflake are snug to the jar; you don’t want any etching cream to leak underneath and ruin your image. Next, apply the glass etching cream over the entire jar/bottle. (I used Armour Etch) Wait the length of time listed in the instructions on your bottle, rinse the etching cream away. Add a ribbon and tag. Enjoy!


You still have time to enter this weeks challenge for you chance to win the $20 gift certificate! 
Thanks for stopping by!