Showing posts with label stars. Show all posts

Saturday, June 23, 2012

Red, White, and Blue


Hello! Today’s 12x12 layout is inspired by this weeks challenge at Cheery Lynn Designs, Red White and Blue.
 I started by creating a border around my background paper with Lace Light Deco Border. Next, I layered the Nautical Wheeler Doily, Mega Tea Party Doily, and the center of the Polynesian Sails Oval Doily. To matte my photo, I chose to stagger to cuts from the middle size French Flair Classic Silver Stacker. Along the bottom you see the Flower Chain Border resting atop the Border Carnivale.
To create the banner, I used half of the center cut of Polynesian Sails Oval for each pennant.

 I really wanted to add a flag to my little cluster but didn’t have one. What does a crafty person do when they can find what they are looking for? Create their own! For the red piece, I cut the smallest of the Scalloped Coved Rectangle Small Stacker Nesting Dies. I handstiched some stripes and created French knots for the stars. Once complete, I wrapped the coved edge around a toothpick for the pole. It’s not politically correct but it is original! J The flower was created using the Medium Rose. Foilage is from the Olive Branch, Flourish Leaf Strip, and Small Leaves #2.


There is still time to get your entry in for this weeks challenge, also being your entry for the Big Shot! Details Here
Have a great weekend, and thank you for stopping by.


Friday, September 30, 2011

Boys Rule

I am thrilled to be Guest Designing for Boys Rule kits! It is kit club designated to designing kits for boys! …“a monthly kit club for the love of dirt, grunge, and smelly things boys love to do!” What a great idea for the moms, aunts, and grandmas with boys big or small!!  Head on over and check out the latest kits!!
Here is the first of my reveals for Boys Rule!


These kits are chock- full of awesome matching embellishments!!

Thanks for stopping by!

Friday, March 18, 2011

Friday Fun!

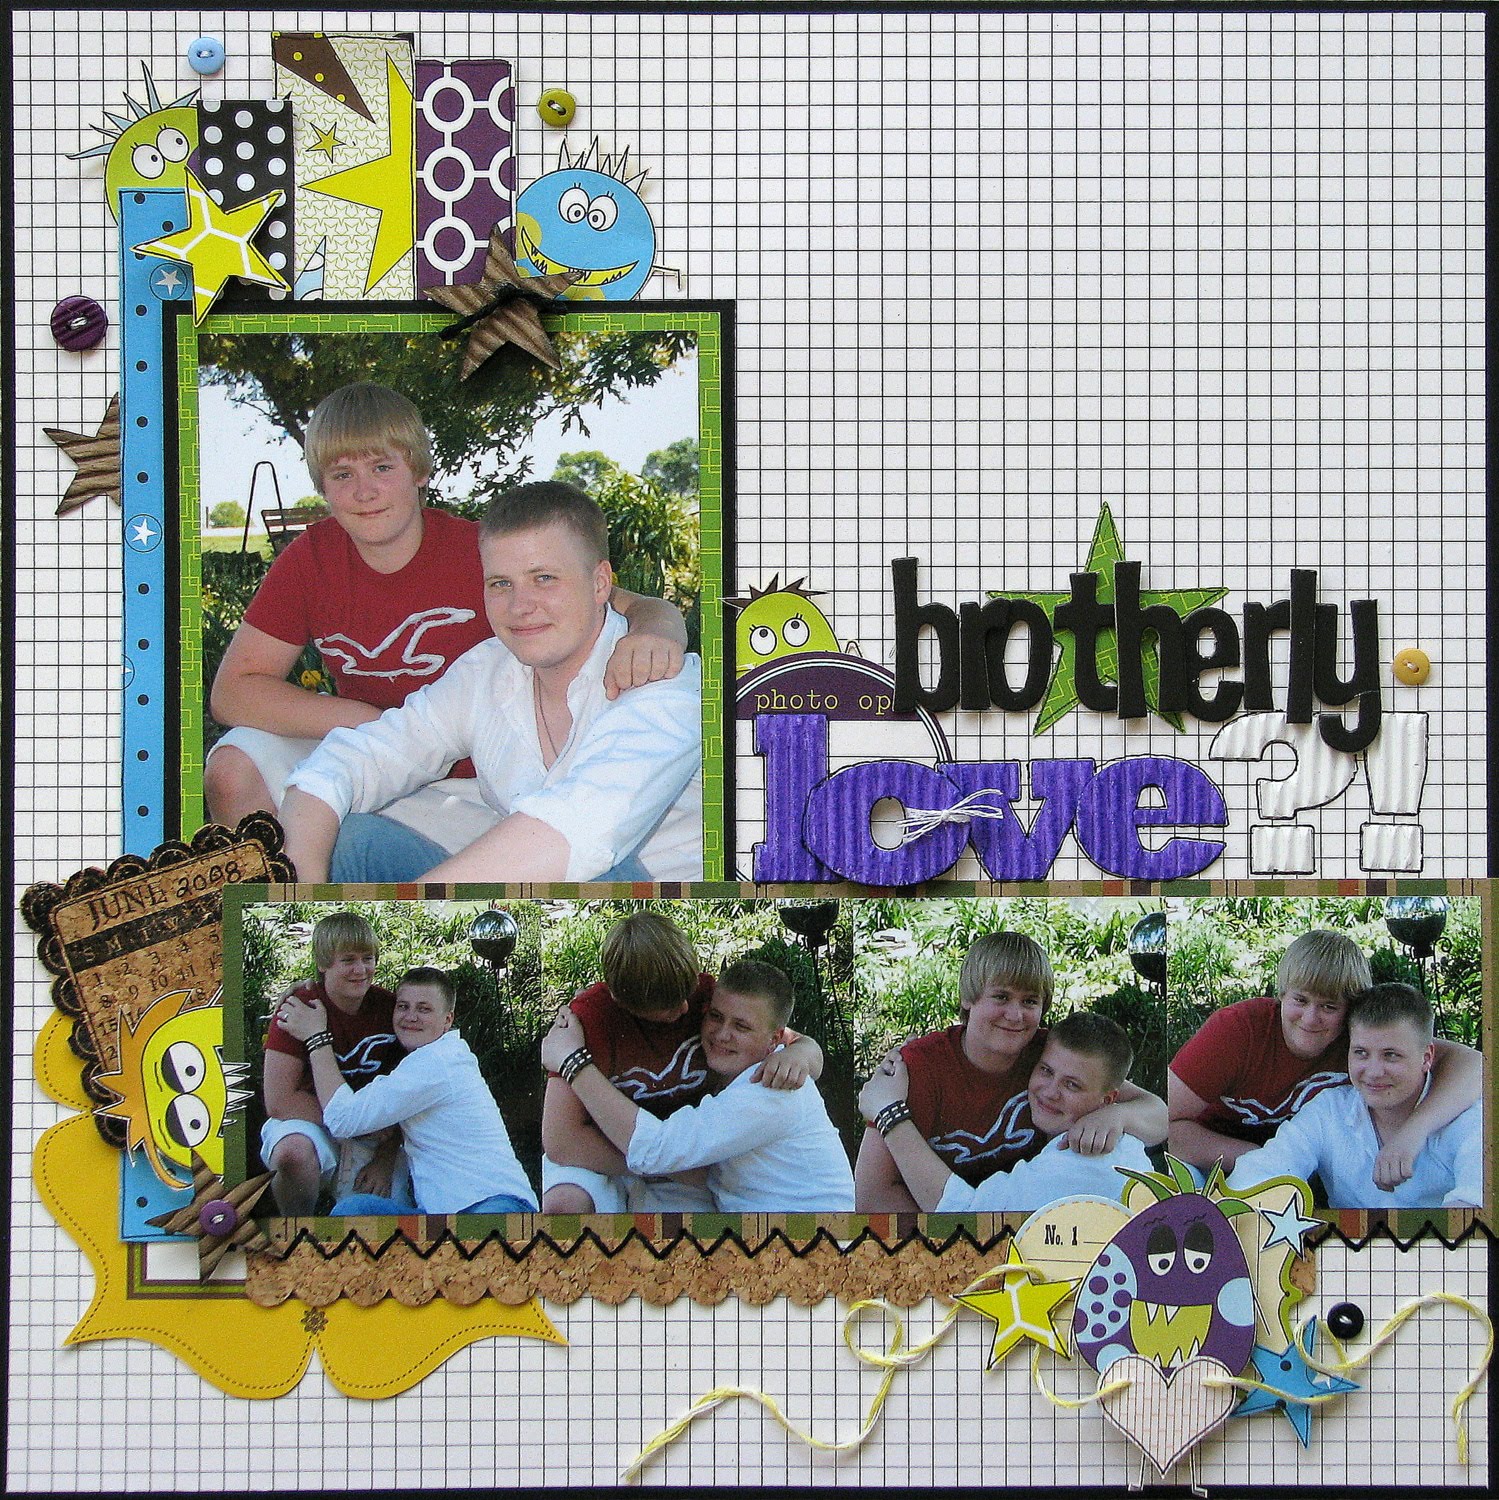
It’s Friday!! Time for some fun!! These are some of my all-time favorite photos of my boys. You would think that at this age they could sit still for a photo shoot, but I’m glad they were themselves. I’m thrilled that the photographer caught it on camera! Their silliness made for a enjoyable day and amusing photos! I’ve been hoarding these photos for a couple years. When I saw the cute little monsters from Jillibean Soup, I instantly thought of these photos!


I fussy cut the monsters from the pattern paper and tucked them here and there peeking out , being silly just like my boys!


To create the calendar, I stamped onto cork and cut around the image. I also ran a strip of cork through my border punch to create the scallop border under the photos.


I used pop dots to add dimension and interest when adhering the title as well as embellishments.


Thanks for stopping by!


Friday, May 28, 2010


I've been working on killing some kits and using up some old stash. Gotta get rid of the old so I can bring in some new! :)


One of my all-time favorite photos of my boys together!


I really haven't decided if I like how this one turned out....but I had fun playing with my mists!


The last of the scraps went for a few boy cards!


Have a fun and safe holiday weekend!!

Thanks for stopping by!

Monday, May 10, 2010

Magnificent Monday!!

You still have a few days left to enter your submission for ScrapFit challenge #19. The only requirement is to use your old stash, nothing new. Easy enough!! Lets see those entries!!

Here are a few more goodies from Life Preservers April Alternate kit! The colors coordinate perfectly with our school colors so I couldn’t help but do at least one sporty page! I wanted to keep the embellishments to a minimum and let the photos speak so I added texture by using a boarder punch, and embossing my matting and stars. The Mesh Cuttlebug emboss folder reminded me of the texture of a basketball. How perfect is that!!


Non kit items: distress ink; cardboard; chain, tag; rubons; boarder punch; distress paint


With only a few small scraps left, I decided to create a couple cards. This card is for my Father-in-laws upcoming birthday/Father’s Day bash.


Non kit items: buttons; floss; rubon; Nestabilities die; distress ink


And another...

non kit items: cardboard; distress ink; distress paint; flourish; pearl; Core'dinations cardstock; marker; eyelets; Cuttlebug emboss folder; Nestabilities die

I created the bird by tracing the negative area of a grungeboard punchout onto a piece of cardboard from a tissue box. After cutting out the bird, I inked the edges with distress inks. Next, I applied a coat of distress paint. The moisture of the paint allowed the ink to bleed into the paint giving a shading affect. Once the paint was dry, I applied a flourish to the wing area and used a pearl for the eye.

I cut the leaves from Core’dinations Cardstock, using my Cricut and Storybook cartridge. I sanded the edges of the leaves, and rubbed a line in the center of the leaves using a Basic Grey sanding tool.


Thanks for stopping!! Have an awesome day!

Friday, March 12, 2010

Catching up!!!


Wow!! Finally taking a quick minute to catch up!

I just love the masculine feel of the Dream Street papers in the February Alternate kit at Life Preservers. I’ve really enjoyed working on some teen boy layouts.


I created the tag by placing a rubon over a chipboard piece. I added an eyelet, threaded some floss through the eyelet, and attached to the knot with a safety pin! I used my sizzix die to cut the star from a cereal box. I spayed with Maya Road Mist and dabbed some Black Soot Distress Stickles found in the kit.


To add texture and go with the teen masculine look, I used the sizzix die to cut stars from denim and wire mesh.


Non kit items: Distress Ink, wire mesh, denim, eyelets, jute, snaps, chipboard letters (t & A), and thickers (S), brads,


I created this in an 8x8.


I put the Superstar rubon onto the rough side of a transparency and cut out. I dry brushed a little paint onto the backside to make it stand out a bit against the dark background papers. For the star, I cut the star from a cereal box and lightly covered with the Black Soot Distress Stickles found in the kit. When the stickles were dry I covered with a generous amount of Glossy Accents. After waiting for it to dry, I applied a second light coat of distress stickles. It gave some of the sparkles a bit of a floaty look!


Non kit items: Distress Ink, stitching, brads, cardboard, Making Memories paint, staples, Stampin’Up border punch, EK Success boarder punch, Cuttlebug embossing folder


I think these little faces are the cutest and would make a really fun card! They are rubons found in the kit! I put Glossy Accents over the faces to make them stand out.


Non kit items: Distress Ink, Glossy Accents


The star paper made me think of graduation. Although it seems that spring will never get here, the time will come before we know it!! This card has a little pocket inside just the right size for money or a gift card!

Non kit items: Distress Ink, floss, stitching


Non kit items: Distress Ink, Marker, EK Success border punch, alpha stickers, floss


Thanks for stopping by!!!

Monday, February 8, 2010

How was your weekend?

Me? I had the best time cropping with the ladies at Life Preservers! They are a hoot! I was blown away by the all amazing challenges and make'N takes the DT put together!! I really didn't accomplish much scrappy wise, I was too busy chatting it up on the boards...imagine that?!

I did host another 1 hour sketch challenge using a wonderful sketch from my sweet friend Aymee at A Sketchin' Southernbelle.


If you are looking for some inspiration check out the board and gallery at LP. The ladies have done some incredible work!!

Have a happy scrappy day!

Monday, February 1, 2010

Wow! I just realized how long it has been since I posted!! I was busy working on challenges for our up coming crop at Life Preservers!!! The crop starts Friday evening and goes through Sunday. I hope you’ll pop in and join us for some super sweet games, Make N takes, Challenges, and chatter. It is sure to be a “Latte” fun!! details are here!

Speaking of a “Latte” fun, I got my Life Preservers January Kit in the mail!! IT is the first time I've had the pleasure to work with October Afternoon papers. I am in love with these Farm Fresh papers!! The ribbon/trim in the kit are perfect with it!

I have to say that I don’t feel my projects have done these papers justice. I’ve lost my scrappy mojo, but I’ve been trying to pull myself out of this little lull!

First, I’ll share a layout I created with the kit. I do like the end results, but it is not at all where I was going when I started!


Next, I created a cover for a gift bag…..I really don’t like how this turned out. It seems to be off balance somehow….or maybe it is just me?!! This is my first attempt ever at a shaker box!


Time for a new challenge at ScrapFit!

The challenge is to create a bra card….thank your friends for their support!!


You can find a template and instructions here!

Have an awesome day!

Tuesday, December 15, 2009


Are you a Cosmos Cricket fan? Do you love the holidays? Who doesn't?! This weeks ScrapFit challenge is for you!!

ScrapFit challenge #10

1. Use a Cosmos Cricket product
2. Chose a holiday/winter themed word and create your own challenge!!
For example: I chose the word PEACE so I used
P-punch
E-emboss
A-angle
C-chipboard
E-emephera

Stop on by and enter the contest. It is a Cosmos Cricket kit up for grabs!!

Scrapfit news: It is time for another DT search! The official announcement will be posted here on December 16th!!

Monday, September 7, 2009

I love distressing!!

I really had no idea where I was going with my TS challenge, when I sat down. Once I got going, the ideas just came flowing! I love it when that happens! Makes creating such a sweet treat! I have to say, whether win or lose, I really like how this one turned out!


just a reminder, click on the photo to enlarge if you want to see the details.

Title - "This Day"
- one picture - 5x7
- 2 chipboard embellishments -Star, chipboard button, and grunge board leaf
- ink- masking, stamping, and distressing of photo, all embellishments, cs, and all pattern papers
- at least one brad -metal love brad on star, and two holding hardware
- 3 different ribbons -jute, black stripe, black gingham, blue gingham
- journaling including the words "this day..."

Journaling:
As I write, I am trying to adjust...trying to face the fact that my baby will be 16 tomorrow. I know that you have waited for this day for a long time, but I am just not ready yet. I miss the little guy that would snuggle up on my lap and fill me with slobbery kisses. How you would just fly in the door hollering “love you mom,” escaping as quickly as you entered. The weed bouquets picked on a whim were much more elegant than any store bought roses. You climbed this tree hundreds of times. I would have such a fit, afraid that you would fall out. You always worked so hard and I felt that you were cheating yourself out of being a kid. You are that same sweet little guy in a much bigger body. I’ve watched you grow and mature. I’ve seen your interests change to suit you. You are confident in who you are, not willing to compromise that for anyone. You’ve endured hardships beyond your years. I am so proud of the young man you have grown into. As much as I miss this little guy. I look forward to seeing what lies ahead. I have no doubt that you will handle what ever life brings you, with grace and dignity. You will overcome the obstacles in your path. With your strong sense of determination and strength, you will become all you dream and more.
As you have grown, so have the size of your toys, your stunts, and your dreams. I’m trying my darndest to keep up, but moms just take a little longer I guess. So, if you see tears in my eyes, remember that this day is not an easy one for me, but like before, humor me, I will adjust.


I created my own mask and inked some stars onto the background.


For the star near the center, I stitched the star shape onto the background paper, overlapping the photo a bit. I then cut out the center of the star with a craft knife. I inked the edges of the cutout. I placed a piece of pp on the backside of the background pp covering the hole.


I inked the edges of the photo. I really didn’t know if this was going to work, but I think it gave it a really cool effect!


I painted the star, then inked for the distress look. I inked the leaf with green, then did the edges in brown. I also inked the edges of the button, stamp, and “sales slip." Using the crop-a-dile, I punched a hole in the star for the brad(love)


For the letters, I left them plain natural, and just stamped the image.


Crossing my fingers, hoping to make it to the final round!

Tuesday, September 1, 2009

Another crazy scrappy week!

Can you believe it is the 1st of September all ready?! Where did August go!! Oh ya! I was scrappin’ away!! I did 10 layouts and 2 cards! I am such a slow scrapper that it has to be a record for me!

September 1st means there is a new challenge posted on http://www.scrapfit.blogspot.com/ today! Pop on over and see what my teammates have created.

Here is your challenge...
Follow this routine to a T
1. use 3 patterned papers
2: use 1 solid cardstock
3: hide your journaling
4: use at least 2 photos
5: use at least 1 star in your LO
6: use at least 2 different ribbons


I had to try out my new Herringbone emboss folder. Love that one!! It is perfect for all my masculine pages.


Last night was the deadline for round #4 on my TS contest. I made it in under the wire with two minutes to spare!! Whew ! My heart was pounding! That is way to close for my comfort! Hurry up and wait! We will find out this afternoon/evening who moves on and who’s been eliminated. Cross your fingers for me!


Layout must include:
- one picture only
- at least 3 leaves (can be an embellishment, stamped, handmade, cut from paper, real leaves etc)
- stitching - machine or hand stitching (no stamps, rubons or stickers)
- some recycled piece of packaging - plastic, hang tag, price tag, cardboard, etc. (describe in your description if it's not evident what you used)
- journaling of at least 50 words including "I am not willing to..."

Journaling reads:
What?! Two boys and no girls?! I love kids, and I always looked forward to my
babysitting jobs. I was ready to be a mom. I really didn’t care if my babies were boys or girls, be it dresses, dollies, and pigtails or dirt, trucks, and frogs. But nothing in this world could have prepared me for the two of you! The unimaginable that the two of would think of! The dangerously crazy things you‘ve done! Behind all of the extreme boyishness, you are both so sweetly sincere, over protective of your family and friends, and all around fun loving. All this time I thought it was me who was to be your teacher, and guide you into life. But in time, I can see that you have taught me so much more, and expanded my world to a place that I never would have explored on my own. It is a good thing that you gave me time to learn and to adjust a bit at a time. I have even learned to appreciate your worlds of gun infatuation, military, and tattoos, 4-wheelers, snowmobiles, and paintballs! There is definitely no girliness in my world. No pink dancing princess with pigtails. No glitz, glamour, and bling. But I’m not willing to trade one minute of my life with you in exchange for a daughter!

I stitched the grid background.


From the photo I used :
Mt Dew bottle - leaves (I cut leaf shapes from the plastic and melted them with a heat gun to form a little texture
Orange pop case - leaves
Manila envelope - leaves (wet, scrunched, and inked)
Unionbay tag - leaves
Urban Pipline tag - I used the string for the apple stems
Prima packaging - the layer around the photo
Hollister shopping bag - leaves , burgundy layer (inside of bag), journaling strips (outside of bag)and basket ( I unraveled the handle and used the burgundy layer for leaves, and the kraft layer to weave the basket)
Another tag was used to make the strip and handles on the basket, but I don’t remember the brand name


Whew! Not only did I make it through another week in our BSH contest at Lifepreservers, I won a prize!! Wohoo! $10 off a future order. It’s a good thing to because Von has some awesome kits coming up in October. I finally had it narrowed down to two but really couldn’t make up my mind. Now I will just get them both! My challenge for the week is to scrap some recycling! Think I have that one mastered now!! He he I am off to dig in the recycling bin to see what else I can find!!