Hello! I just love my monthly kits from My Creative Scrapbook! Each kit is packed with so many fun papers and embellishments. This month I had the privilege of working with the Limited Edition Kit....absolutely stuffed with flowers, diecuts, chipboard, wood pieces and more! I decided to take my dimensional layering one step further and play around with a soft colorwash background. A bit out of my comfort zone, but that's how we learn! I love how it turned out!
Let's get started!
We've all heard about using different mediums for watercolor backgrounds and we all love mists. I couldn't help but wonder....what happens when I paint my background with my mist?! LOVE...a new addiction, that's what!
I chose this awesome graph paper from the collection.
this is the assortment of stain and mists I used ,and my paint brush
As you can see, I used a variety of companies. They all seemed to work out the same.
For the stain, I created a puddle onto my craft sheet, the rest I dipped my brush directly into the bottle!
The colors were all so light that I didn't even use water, with one exception, the Maya Road Mists. The Maya Road is a darker concentrated Turquoise so I did use a bit of water to tone it down and give it more of a watery effect.
I loved the watercolor effect of the mists! When I started adding the darker turquoise I started wondering what I had done! I'm great a hitting the panic button and fearing that I just ruined my paper... Not liking it so much anymore! BUT, don't freak out when it's not what you had in mind... that it the great thing about scrapbooking, layering, and embellishments...you can always find a way to cover fix those things you don't want to see!
Here she is all done!
Now I really like the turquoise streaks! They look completely different and actually blend the perfect hint of color with the softness of the layout!
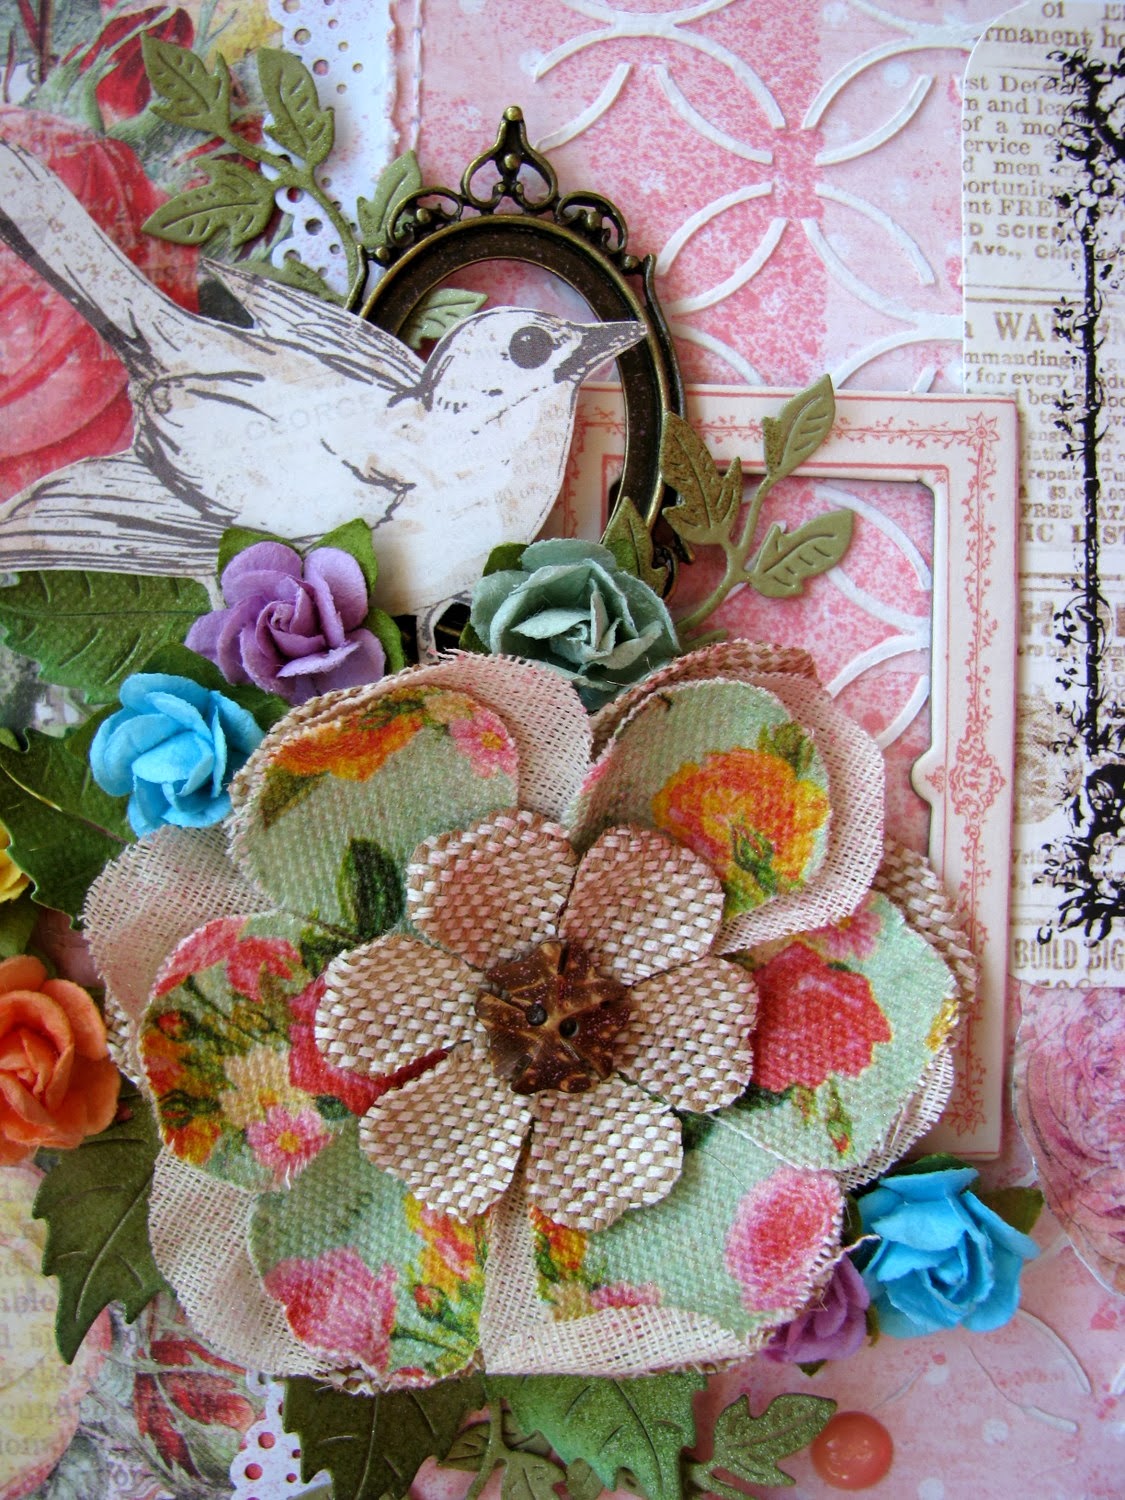
Closeups!
lot of diecuts, chipboard, fussycutting, and flowers!
Aren't the flowers gorgeous?!
Thanks for stopping by!