Showing posts with label Websters Pages. Show all posts

Tuesday, July 16, 2013

July Sketch at My Creative Sketches!

Hello!  Come play along with the July Sketch at My Creative Sketches!
 
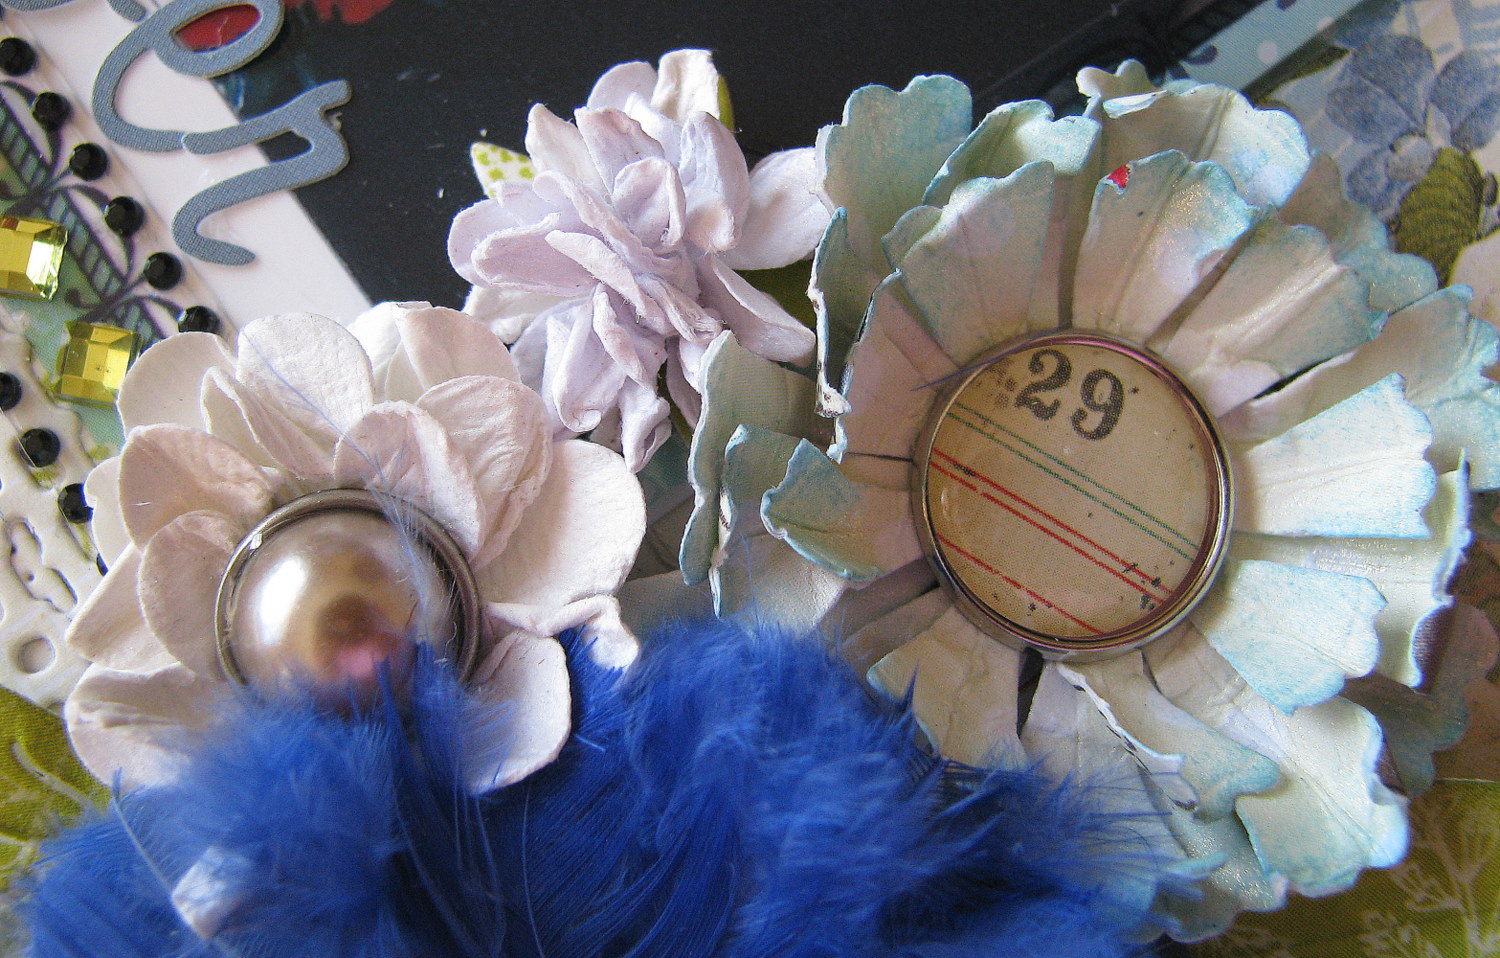
I created my layout using the June Limited Edition Kit from My Creative Scrapbook featuring Websters Pages, and some of my dies from Cheery Lynn Designs!
 I replaced the blocks with doily die cut and shapes hand cut from the printed paper.
 I just adore the Prima burlap butterflies that came in the kit!  I added bling to the chipboard for a little extra pizazz.


Stop by My Creative Sketches to get all the details, check out the fabulous prize, and take a peek at the inspiration from the rest of the team!
 
Thanks for stopping by!

Saturday, January 26, 2013

Hugs

Hello! Today I have a card featuring the new Build a Flower dies from Cheery Lynn Designs.
I started by cutting the base from Scalloped Rectangle Reflections Boutique. Adding a little texture, I used my favorite Diamonds & Starburst Embossing Plate. The Polynesian Sails Oval doily is the perfect delicate base for my image. Above the image hovers a dragonfly from the new Tiny Things with Wings….such cute little critters in this set!
 The larger flower was created using the new Build a Flower #3 set. The flower center, as well as the smaller burgundy flowers were cut from Build a Flower Embellishment #3. Daisies being my favorite flower, you are sure to see more from the Daisy Strip in the future! Foliage from Pair of Ferns, Wreath Strip, Rose Leaf Strip, and Small Leaves #2. Tucked in the flowers is the new Hugs sentiment atop Sentiment Frame #1.
There is still time to enter this weeks challenge for your chance to win the $20 shopping spree! Details Here
  Thanks for stopping by!


Saturday, December 1, 2012

Beautiful Grandmother


Hello! I'm here with a 12x12 layout for Cheery Lynn Designs.
  I set the feel of the layout by adding the elegant Francesca Border around the base layer. Down the center, the Tiffany Border pops! Behind the photo is the gorgeous Mega Tea Party Doily.
The white flowers were created with the Frangipani,. Build a Flower Embellishments #2 was used for the flower centers, as well as the small pink flowers.
 Build a Flower #2 was used to create the large rose. Miniature Roses can be found in yellow. The Exotic Butterfly Mini adorns the bouquets, while the Exotic Butterfly small #2 rests on the Victorian Picket Fence.
Leaf and foliage dies used:  Small Leaves #2
 
There is still time to enter this weeks challenge for your chance to win the $20 gift certificate!
 
 Thanks for stopping by!!

Saturday, November 17, 2012

The Little Things


Hello! Jodi here with a 12x12 layout inspired by this weeks challenge at Cheery Lynn Designs, Autumn colors.
I just love to play with the border dies from Cheery Lynn Designs! They have so many details, and can be implemented on cards and layouts of any style. Here I have layered the Anastasia Border atop the Border Carnivale for a bit of fun, and added the elegant Tiffany Border around the photos.
  A fall cluster must have a Sunflower! I love the details cut in to the flower center! I cut two layers of flower, staggering the petals as I adhered them, then added the flower center with foam adhesive for dimension. The burgundy Mums were created by cutting two layers each of the large, medium, and small Darling Daisies. Using the tip of my stylus, I molded the petals forward to mimic the Mum. I them assembled them staggering the petals of each layer as I went.
The main flower in this cluster was cut with the Stacker Flower #5. I used two layers each of the large, medium, and small spiky flower center from Build a FlowerBuild a Flower Embellishment #1. The smaller yellow flowers throughout the layout are found in the Build a Flower Embellishment #2 set.
  Foliage and leaf dies used:
 
 There is still time to enter this weeks challenge for your chance to with the $20 shopping spree! Details Here
 
Thanks for stopping by!!


Friday, November 16, 2012

November Sketch at My Creative Sketches

Hello! I’m here today with my reveal for the November sketch at My Creative Sketches!
 
 I left my design to reflect that of the sketch. I punched a couple of the strips, added some fussy cutting, and topped it all off with a banner. A beautiful doily was the perfect addition for the circle! I filled in the cluster with some goodies from Prima and diecut leaves from Cheery Lynn Designs.
Kit from My Creative Scrapbook
 
Head to My Creative Sketches to check out the fabulous inspiraion from the rest of the team!
You have until December 14th to join in the fun for your chance to with this months gorgeous prize!
 
 
Thanks for stopping by!!


Saturday, November 10, 2012

Fall Foliage


Hello! Jodi here sharing a 12x12 layout for Cheery Lynn Designs featuring an assortment of  leaves in fall colors!
  I’ve used the Bunny and Chick border to dress up my background layer. I split the Polynesian Sails Oval in half, layering each half on top and bottom of my photos adding a bit of elegance and texture to the layout.
 I cut two layers of Sunflower for each flower, staggering the layers as I adhered them. The flower centers were attached with foam adhesive to add dimension. Rose Leaf Strip was cut in green for flower leaves.
 Fall leaves were cut from Small Leaves #1, Small Leaves #2, Large Leaves #2. Other foliage filling in are Mini Fanciful Flourish, Fanciful Flourish, Pair of Ferns, Olive Branches, Wreath Strip, and Flourish Leaf Strip. The title was cut using the elegant Delicate Lace Script.
 There is still time to enter this weeks challenge for your chance to win the $20 gift certificate! Details Here
 
Thanks for stopping by!!


Tuesday, October 16, 2012

My Creative Sketches October Reveal

Hello! It’s time for a new sketch at My Creative Sketches! I used papers and embellishments from a mix kits purchased trough My Creative Scrapbook. You have until November 15th to participate for you chance at the gorgeous prize! Details Here
 
October Sketch
 
I had some fun by stepping outside my comfort zone and played with my Glimmer Mists and some Resist Canvas shapes from Prima. I added a few different colors to the banner. I really like how it turned out!
 
Here is another of the canvas pieces using three different colors, blending them in a little closer. This is actually a corner piece that I tucked behind the fussy cut clocks for a bit of depth and texture. To the right, you can see the chipboard frame from Leaky Shed. I painted it with Ranger Distress Paint, added some Ranger Distress Inks around the edges, and finished it off with some Kaiser Craft Pearls.
 
I layered fussy cut flowers, and the chipboard frame with foam adhesive for dimension.
 
Head on over to My Creative Sketches for some gorgeous creations from my teammates!! You are sure to come away with oodles of inspiration!!
Thanks for stopping by!!!


Saturday, July 21, 2012

You make life Beautiful

Hello! I have a fun 12x12 layout I created for Cheery Lynn Designs to share with you today! Doesn’t my niece have the most precious smile!
(sorry, blogger is cutting off the edge of my photo??)
To create my layout, I started on the inside with the largest of the Lace Square Heart Reflections Die, layered with a Mini Pearly Square Reflections Die. Around the heart square, I added the Francesca border. Underneath, I cut four pieces of the French Lattice Small Frame to fill in my background. Complementing the lattice is the Queen Anne’s Lace border. Finishing off the corners is Lace Corner Deco F. Tucked under the photo is the French Pastry doily. The Lace Script font has the perfect elegance to compliment the layout.
To create the large white flower, I cut Flower Stacker #5 from 8 layers of coffee filters, finishing the center with Build a Flower #1. I’ve added some fun embellishments using the Celtic Heart and Colonial Lamp Post dies. Other flowers and foliage include the Miniature, Medium, and Large Roses, as well as the Princess Tree, Stacker Flower #1 Leaf, and Small Leaves #2.
There is still time to enter this weeks challenge for your chance to with the $20 gift certificate! Details Here
Thanks for stopping by!!

Saturday, January 21, 2012

Winter Wonderland

Hello!  I'm here with a winter layout for Cheery Lynn Designs.


Using the January sketch from  My Creative Sketches, I began my design by placing the Mega Tea Party Doily on the center of my background. I started layering pattern papers, some cut work, and the Large Sunflower Doily…those dainty details really add a lot!


I added the new Francesca border to the bottom of the photo. The details of this border are so exquisite and definitely a new favorite! ( AND it's also on sale!)  After attaching all the layers, I strategically tucked in some Pine Branches. I finished off the layout by adding a couple Snowflakes #2. For a little fun texture and dimension, I added a Miniature Rose to the center of the upper snowflake, and Cuties #2 to the lower snowflake.

There is still time to enter this weeks challenge at Cheery Lynn Designs for your chance to win the $20 gift certificate! Get the details here.

Details and sketch for My Creative Sketches can be found here.

Thanks for stopping by!!

Saturday, January 14, 2012

Oh so Lacy!

Hello! With Valentines around the corner, I thought I would work on a romantic layout. Todays layout features borders and flowers from Cheery Lynn Designs.


I started by dressing up the layout with piecing the Anastasia Border around the background paper. I layered the Lace Light Deco Border atop the Tiffany Border. I like to slightly roll the bottom of the borders to give a bit of texture, and make them look more like real lace. After adding some fussy cutting, I tucked the English Tea Party Doily in a couple places. 


I cut the Sweet Williams flower from denim scraps.


After cutting the petals of the Large Rose, Miniatuare Rose, Frangipani with Leaves, and Stacker flower #5, I spritzed each set of petal with Glimmer Mist then scrunched each petal between my fingers and set them aside to dry. Once dry, I assembled the flowers. Distressing the petals gives the flowers a completely different look.


Before assembling the Stacker Flower #5, I staggered the flower and shortened some of the petals but cutting the die piece with the Scalloped Window Stackers.


I also added Cuties #1 to the bouquet. Once all flower were dispersed, I tucked in pieces of the Fanciful Flourish, Olive Branches, along with leaves from Stacker Flowers #1 and Dimensional Small Leaves #2. To complete the romantic feel of the layout, I added the Small Lace Butterfly…isn’t this die so delicate and beautiful?!
There is still time to enter this weeks challenge for your chance to with a $20 gift certificate. Get the details here!

Come back tomorrow to peek at all of the January released dies!!

Saturday, December 31, 2011

Happy New Year!!

Hello! Today I have another card for Cheery Lynn Designs featuring the Classic Coved Rectangle, Silver Stacker Coved Rectangle and the Polynesian Sails Oval.

I cut the Oval doily in half and positioned it just around the top and bottom of the Coved Rectangle diecut. The large flower is two layers of Cuties #2. By embossing and scrunching 3 layers of the Miniature Rose, I created the little flower buds. The foliage consists of Olive Branches and leaves from Small Leaves #2. The gorgeous mini doily under the flowers comes from the center of the Polynesian Sails Doily die. Two beautiful dies for the money!  A definate bargin!!


You still have a little time to enter this weeks challenge for your chance to win one of the gift certificates!

I want to take this time to thank you so much for your wonderful comments and never-ending support! Wishing you a safe, and happy 2012!