Showing posts with label bakers twine. Show all posts

Tuesday, October 16, 2012

My Creative Sketches October Reveal

Hello! It’s time for a new sketch at My Creative Sketches! I used papers and embellishments from a mix kits purchased trough My Creative Scrapbook. You have until November 15th to participate for you chance at the gorgeous prize! Details Here
 
October Sketch
 
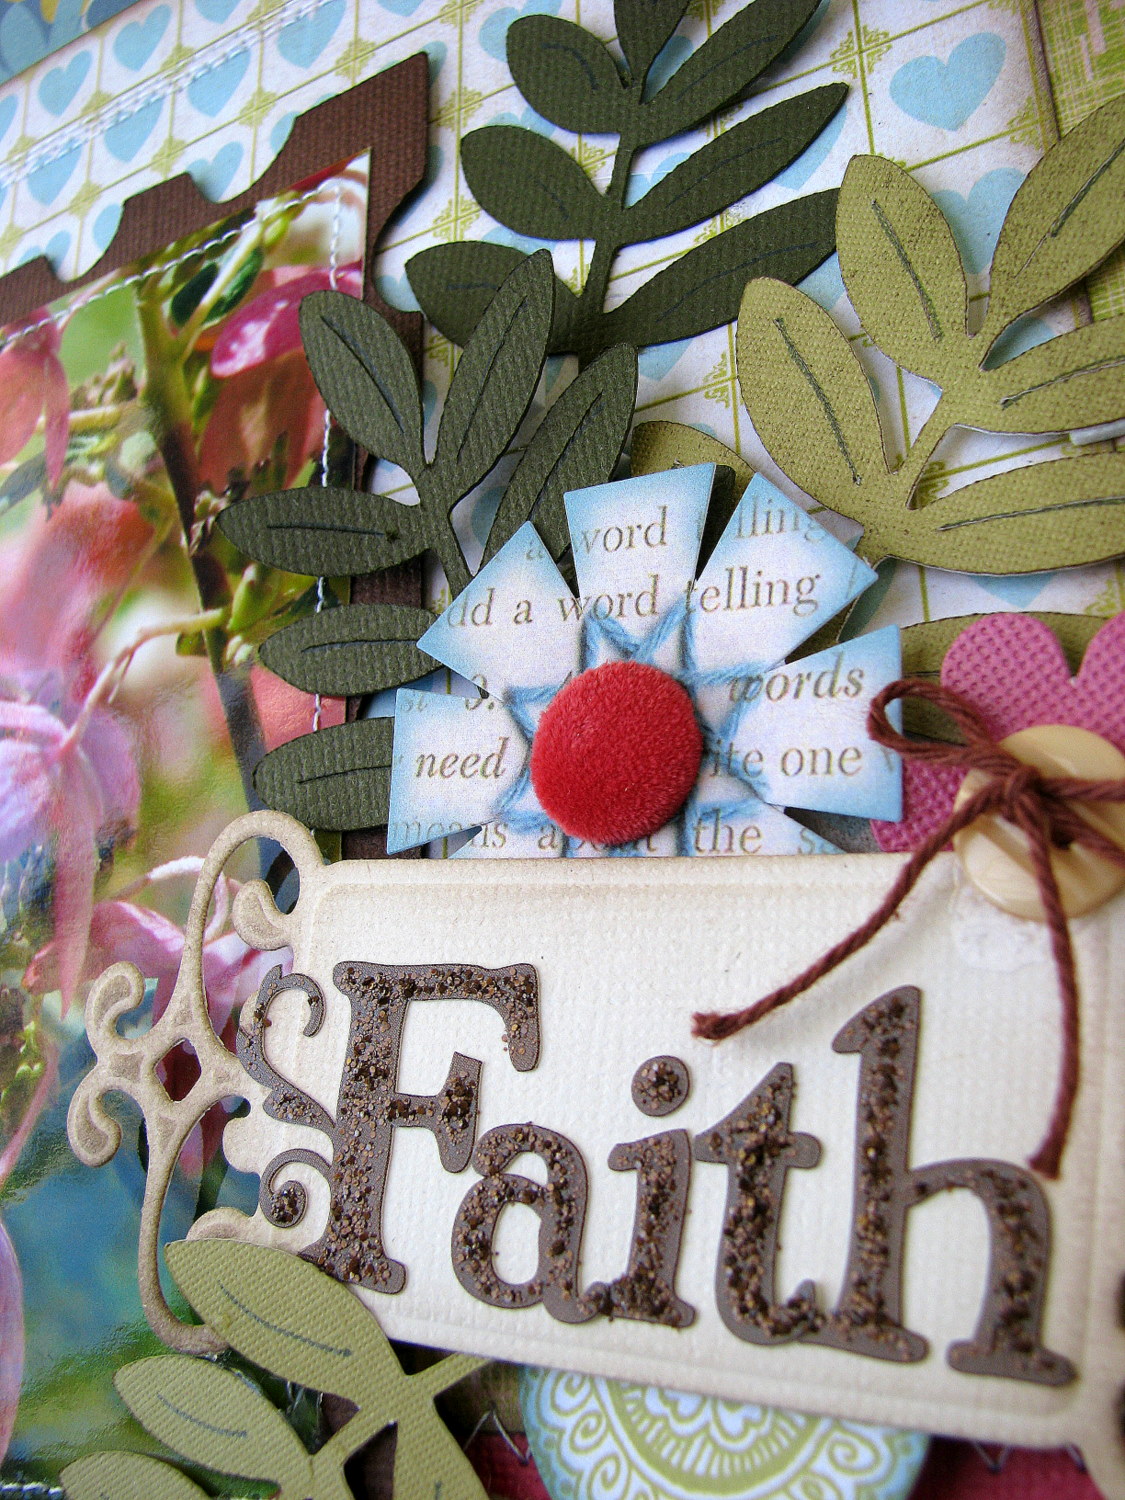
I had some fun by stepping outside my comfort zone and played with my Glimmer Mists and some Resist Canvas shapes from Prima. I added a few different colors to the banner. I really like how it turned out!
 
Here is another of the canvas pieces using three different colors, blending them in a little closer. This is actually a corner piece that I tucked behind the fussy cut clocks for a bit of depth and texture. To the right, you can see the chipboard frame from Leaky Shed. I painted it with Ranger Distress Paint, added some Ranger Distress Inks around the edges, and finished it off with some Kaiser Craft Pearls.
 
I layered fussy cut flowers, and the chipboard frame with foam adhesive for dimension.
 
Head on over to My Creative Sketches for some gorgeous creations from my teammates!! You are sure to come away with oodles of inspiration!!
Thanks for stopping by!!!


Monday, June 20, 2011

Heartstrings

Aren’t these photos of my nieces hubby and baby just precious?! No doubt a daddy that love his little girl! I left the journaling card and date blank for my niece to fill in with her own loving memories and words. Nuts About Sketches #166 reveal. I used the right page and flipped it. You can find the sketch here. All pattern papers, stickers, buttons, and rubons are from October Afternoon; bling - Imaginisce; bakers twine - the Twinery; punches - Martha Stewart/EK Success.
I love how the border punches add pizzazz and pop to the layout and yet can be so subtle that you hardly notice them. Some of the other details include lots of stitching, stickers layered with various depths of foam adhesive, bling to the center of the flower, and a rubon in the corner of the photo.

I cut the heart from felt and applied the rubon directly to the felt. I don’t think I would try this with rubons from certain companies, but I’ve always had great luck with the rubons from October Afternoon and once again, it applied super slick!! “The Good Stuff” scallop circle and “priceless” tag are also October Afternoon rubons that I applied to pattern paper and hand cut to embellish the layout.


I wove the bakers twine through my sticker letters for a fun twist to my title!


A close up of some of the stickers layered and a little bling added to the end of the ducks string.


Thanks for stopping by!


Monday, June 13, 2011

Nuts About Sketches #165 and some Hybrid fun!!

It has been so cold and gloomy here for so long. I am ready for some fun in the summer sun! I decided since the sun refuses to peek through I would pull some of Echo Parks fun color popping papers to brighten my world! Nuts About Sketches reveal #165
I tucked the bottom of the sun under the photo, yet adhered the top of the sun with a pop dot. I also added some stitching and stickles to the sun for texture and a bit of sparkle! I layered small stickers over the large corrugated letters for a fun twist to the title.
I stepped outside my comfort zone and purchased the Echo Park Hybrid Summer Days Elements #1 package from Jessica Sprauge. I have never tried hybrid before. I really wanted some of the cute stickers and chipboard pieces but they were not available at my LSS so I decided to take the plunge and discovered a whole new world! I have a habit of “saving” stickers/chipboard pieces for “just the right thing” but was freed from that feeling to not only use what I wanted, but to be able to print it in the size I wanted!! The green scallop border, as well as all the embellishments on this layout are hybrid! …except for the obvious buttons, bling, bakers twine, and corrugated letters
I added some stickles and bling to the elements for a bit of summer fun and sparkle, then attached them various depths of foam dots for depth and texture.
Thanks for stopping by!


Saturday, January 15, 2011

a scrappy day!!

I finally took a day to just sit and create. What a glorious feeling, to be playing with paper and glue again. It so exhilarating watching bits and pieces come together to form something beautiful…tell me I’m not the only one that gets a rush as ideas collaborate constructing a masterpiece!!

My first layout and card of2011!

As always, click on the photos to enlarge.
Pink Paislee; Bazzill; Coredinations; Spellbinders; Jenni Bowli; Ranger Distress paints, inks and Stickles; My Little Shoebox; American Crafts; Prima; Maya Road; Jillibean Soup; Stampin’Up; Martha Stewart; cardboard

I used Sketchabilities sketch #38 as my inspiration to get the ole wheels turning again. I wanted to jazz up the background cardstock a bit, yet I wanted it to be very subtle so I lightly embossed the corners of Core’dinations cardstock using an embossing folder and my rolling pin; then gently sanded over some of the embossed flowers.
Naturally, I had to alter some embellishments with distress paints, and distress inks!


My first attempt at a rolled felt flower! I am excited with how it turned out. I can see how they could easily turn into another addiction! I’m sure you will see more of them soon! :-)


Changing the pace a little, I created a card to play along with Cardabilities sketch #21.

October Afternoon; Making Memories; Cricut (Create A Critter);Martha Stewart; Stampin’Up; Ranger Stickles; Making Memories

I couldn’t resist adding some texture to my squirrel. It’s those little details that add so much, don’t you think!


Thanks for Stopping by!!


Wednesday, November 10, 2010

So Sad

Pinky has come to a very difficult decision and I am so sad to say that Dirty Scraps is officially closed. I have enjoyed my time as a designer. Thanks for giving me such a wonderful opportunity, Pinky!!!

This layout was inspired by a prompt from Dirty Scraps, a sketch from Sketchabilities, and lots of Sassafrass Lass goodies!

You know me, I have to add some texture and dimension! :)


Thanks for stopping by!!


Friday, October 29, 2010

Holiday Card

Here we are at the end of another month…unbelievable!!

It is my turn for the weekly challenge at LPSC. I decided it is about time to get a jump start on some holiday cards. I created this one using the October Afternoon papers in the Life Preservers Scrapbook Club August Alternate Kit. The reds and greens in these papers are perfect for a holiday card, I covered the snowflakes with the music paper, and the lacy trim in the kit was a beautiful way to finish it off!


I had fun experimenting with some Bazzill chipboard snowflakes I had on hand. A bit of Distress inks, Distress Picket Fence and Rock Candy Crackle paints, and a dash of glitter…whhhaa la!!


Thanks for stopping by!


Sunday, October 24, 2010

Banner Winner!!

I would like to thank everyone for stopping by during our Dirty Scraps blog hop. Thanks to you, the hop was a huge success!

An extra big thank you for all the sweet comments on my banner and blog!! The winner of the banner is...


Jennyrb78
Congrats Jenny! Contact me with your address so I can get your banner in the mail!!

My tree was inspired by Gabrielle’s Make N Take during the Life Preservers Crop last weekend. I created the tree and decorations during the crop, but wanted to finish it off with a tag on the jar/vase. While browsing the Echo Park blog, I came across vintage label downloads and knew that it was just what my tag needed!

As always, click on the photo to enlarge!

The vase is a taco sauce jar! Using a Pink Paislee canvas label, I cut it to fit inside the label form molded in the glass. I filled the jar with leaves and sand from my sandbox.


I used lots of Ranger Stickles, Crackle Accents, and Distress inks as well as popdots and sanding to add texture to the ornaments. Notice the Core'dinations background in each piece?! Love that stuff!! The ghosts, bats, spiders, skeletons, and mat shapes were cut with my cricut.


Thanks for stopping by!!