Showing posts with label punches. Show all posts

Sunday, March 16, 2014

March Sketch for My Creative Sketches!

hello!  It's time to reveal the March Sketch at My Creative Sketches
 
I flipped the sketch side to side!
I used the gorgeous March Limited Edition Kit to create my layout!
 I added some stamping, fussy cutting, and flowers in place of the ribbon!
 Brads, trinkets, chipboard, and flowers found in the kit!
 The beautiful doily sticker is also found in the kit! 
 More fabulous goodies from the kit!
I would love to see your interpretation of the sketch!  Come play along at My Creative Sketches for your chance at the fabulous prize!  Click HERE for details and inspiration from the rest of the design team! 
 
Thanks for stopping by!

Friday, March 7, 2014

More from My Creative Scrapbook!

Hello!  I'm here to share another layout I created for My Creative Scrapbook using the March Limited Edition kit featuring the Something Blue collection from Prima Marketing.   
 The doilies were cut from packaging from the flowers.
The kit has lots of gorgeous flowers!
 I added texture with masking and lots of fussy cutting.
The embellishments in this kit are endless!
 
Thanks for stopping by!


Wednesday, March 5, 2014

My Creative Scrapbook March Reveal!

Hello!  It's time to reveal our the March kits from My Creative Scrapbook!  I had the privilege  of working with the gorgeous Limited Edition kit featuring the Something Blue collection from Prima Marketing!   
 The kit is stuffed with tons of chipboard, alpha stickers, brads, and flowers!
 
 
 The doilies were cut from some of my gorgeous Prima packaging!
 
  I've added texture with a beautiful mask from Prima, as well as lots of fussy cutting!
 To get a peek at this kit, as well as the others, head to My Creative Scrapbook.  Stop by the Design Team Gallery for lots more stunning inspiration!
 
Stop by in a couple days for another release!
 
Thanks for stopping by!

Saturday, January 11, 2014

Detail Delight

Hello!  When decorating your home, you chose just the right accessories to compliment your eye giving your home a warm welcoming feeling.  When dressing up, you chose the accessories that compliment your outfit giving the sexy appeal you feel.   The same happens in choosing just the right embellishments (or accessories) to compliment your page.  Any way you look at it, it's all in the details you add. In working with kits from My Creative Scrapbook,  Pam fills the kits with oodles of coordinating embellishments.  I want to share with you today the difference just a few details can make. 
My first layout. 
 I started by adding a textured background, some stitching, and a few embellishments to my layout...looks good as is.
 By adding just a few more details, it  created a whole new look!
 
I've photographed my second layout in three stages.  A textured background, a few layers, and a couple flowers.
Already a big change in appearance by adding not only a few more embellishments, but by adding embellishments with a complimentary color! 
 
And finally, just a few small details make a big impact!
 
And lastly...
 a few small embellishments make it feel more complete!
 
For more fabulous inspiration and tutorials, head to My Creative Scrapbook Blog.  You can check this kit, and many more at My Creative Scrapbook.
 
Thanks for stopping by!
 

Monday, December 16, 2013

December Sketch for My Creative Sketches!

Hello!  It's time for the December Sketch reveal at My Creative Sketches!  It is such a fun sketch with so many different ways to use the layers! 
 
 
Some layered diecuts, and fussy cutting to add dimension! 
 
 
Come play along, I would love to see your interpretation of the sketch!  AND there is an awesome prize up for grabs.  Head to My Creative Sketches to get the details and get more inspiration from the Design Team!
 
Thanks for stopping by!!

Tuesday, December 3, 2013

PaperHaus Blog Hop Day 3!

 Welcome to the Winter Frolic 12 Days Of Christmas Blog Hop! We are celebrating the release of the Winter Issue of PaperHaus Magazine but also inspiring you each day with wonderful holiday projects, giveaways and inspiration! Our blog hop will run from December 1st to December 12th! Be sure to stop each day and leave a comment each day to win some... fabulous prizes by our lovely sponsors! Don't forget to check out the Winter Issue for additional inspiration, holiday cheer and some amazing projects from our contributing team!

I am sharing one of my most favorite holiday cards from my past creations...I hope you enjoy it as well! 
To create the snowflake, I brushed distress ink along the edges, then dabbed on areas of distress paint.  The moisture from the paint made the ink bleed adding at to the aged feel.  Once dry, I added a touch of stickles for a little shimmer. 
 
 
Thank you so much for stopping in! 
 
Next up on the hop is Lori
 
Jodi Baune  -you are here!

Saturday, November 16, 2013

New Sketch at My Creative Sketches!

It's time to reveal the November Sketch at My Creative Sketches
 November sketch


We would love to have you come play along! Head to My Creative Sketches to get all the details, and a peek at the gorgeous prize, as well as lots more inspiration from the design team! 
 
I created my layout using the November Main kit from My Creative Scrapbook.

Thanks for stopping by!!

Sunday, November 10, 2013

Haunted House

Hello!  I'm here today to share a little Halloween inspiration for those precious photos you just printed of your little monsters! 
 
This layout was published in the Fall 2013 issue of PaperHaus Magazine! 
My layout features papers and embellishments from October Afternoon, and the SpiderWeb die from Cheery Lynn Designs.
 
Head to PaperHause Magazine for lots more inspiration!
 
Thanks for stopping by!!

Monday, September 9, 2013

More from My Creative Scrapbook!

 Hello!  I want to share a couple more layouts using September Kits from My Creative Scrapbook.
 
I just love the chalkboard products featured in the Main Kit.
 
The sweet patterns from Lily Bee found in the Album Kit, are the perfect way to scrap those summer photos! 

Stop by My Creative Scrapbook to check out all the available kits!
The Design Team Gallery is bursting with inspiration using this months kits!
 
Thanks for stopping by!


Saturday, September 7, 2013

Tutorial - 5 ways to Alter Pre-made Flowers!

Hello!  I want to share with you 5 ways to alter the pre-made flowers found in the September Album Kit from My Creative Scrapbook!
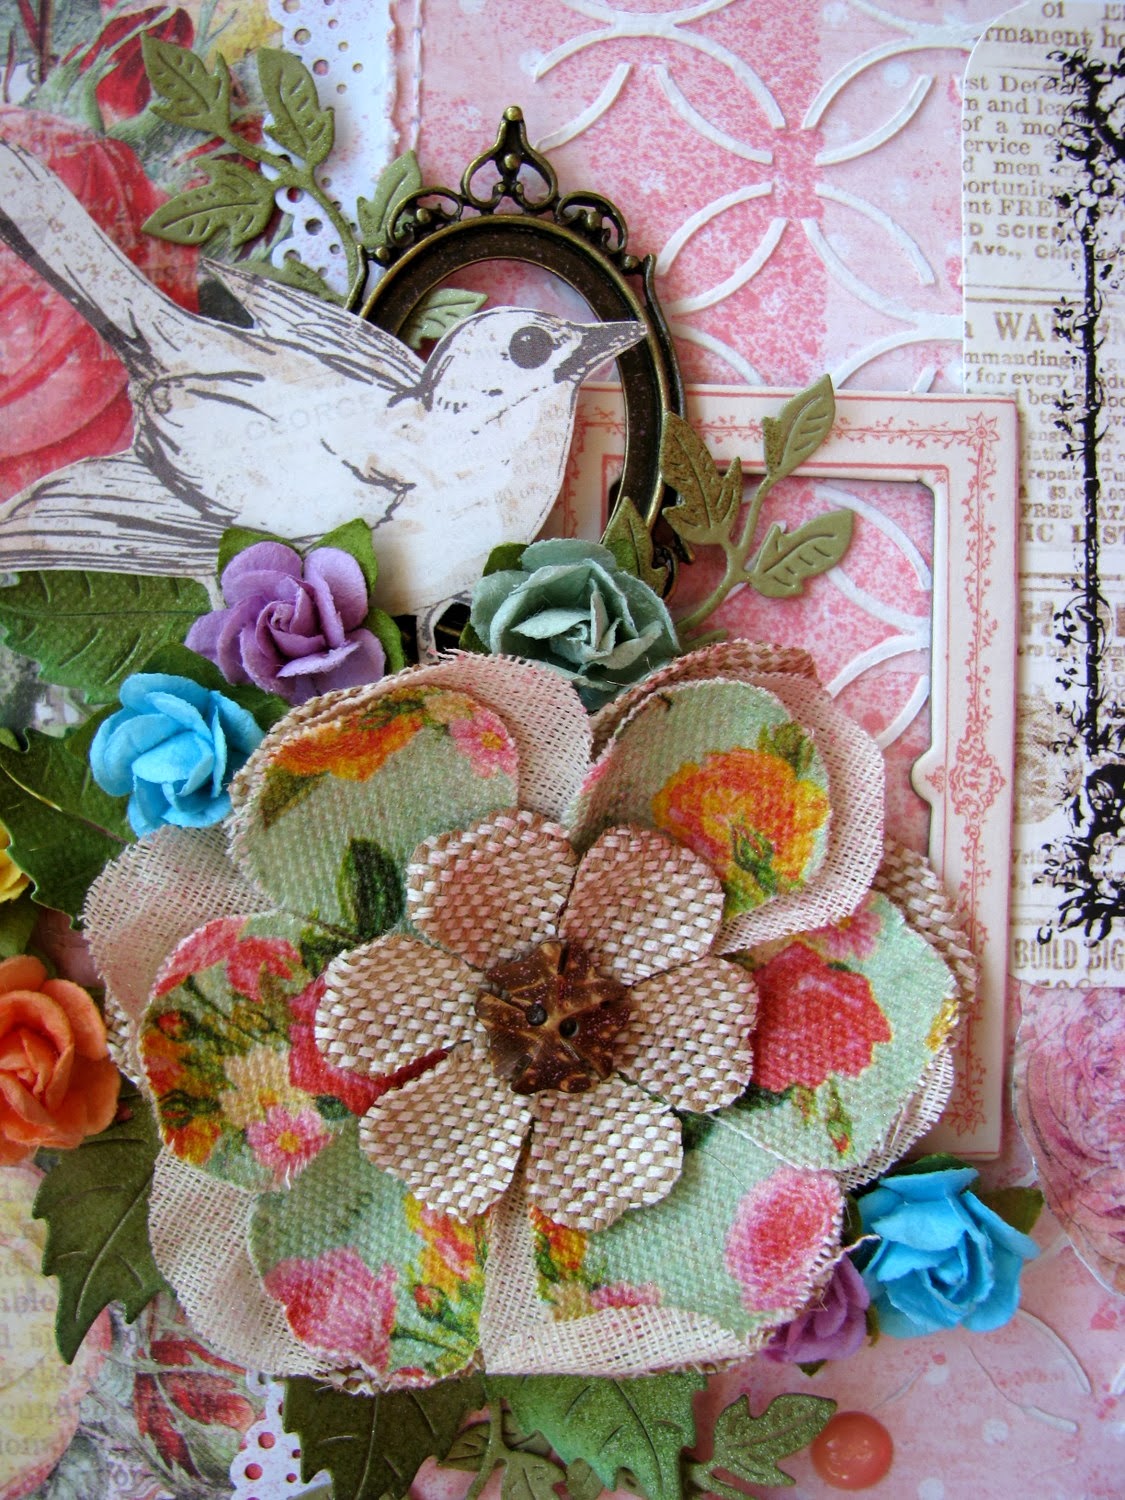
I used my flowers on this layout of my precious niece and nephew welcoming their cousin home!
 
These are the flowers before I altered them...beautiful as is, but I like to see what I can do to enhance them!
 
1.  I dry brushed the petals with gesso for lighter, distressed flower.  Paint works great as well! 

 
2.  Using black ink and a gorgeous, flourish stamp from Prima (found in an earlier kit from My Creative Scrapbook)  I stamped a pattern unto the flowers. 
Didn't they turn out beautiful?!
 
3.  Using my scissors, I sliced each petal three or four times stopping near the center of the petal.
 
Staggering the petals, I layered two flowers together and scrunched them with my fingertips.
 
4.  I lightly misted the ends of the petals with water.  While the petals were still wet, I twisted the ends of the petals. 
 
Once dry, I added a dab of liquid glue in the center and added micro beads from my stash.
 
5.  I spritzed the flowers with mist....I used Turquoise Smooch. 

Once the flower were dry, I formed the ends of the petals with my stylis. 
Here they are after the stylis tool. 
Tie a knot in the end of the yellow ribbon.
Staggering the petals, I glued two large flowers, and a small flower together.  I glued the knot on for the flower center. 
Here she is at another angle!
 
I would love to see how you use your flowers!  Share you link here and I'll be sure to stop and leave you some love!
 
Thanks for taking time to stop by!!